I've been working on monotypes lately hoping to get some images ready for Artmakers Collective. The process is loose and fun and I'm enjoying it. I'll be going back to my super controlled and technical processes, but for the time being, I'm enjoying my dance with the monotype.
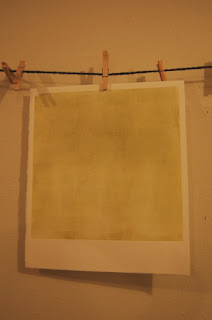 Here are a few shots of a piece from start to the "now what?" stage. I plan on adding some collage elements from my stash or possibly a drawing. For one of my two plates, I'm use the plastic found in a cheap frame. It's thin and seems to work just fine. It seems a bit more brittle than my other plates--which are PETG .030 thickness--but it held up just fine.
I used Akua Intaglio inks except for a wee bit of black Akua Kolor as a vertical stripe on the final pull. The Akua Intaglio was applied with a brayer and the Aqua Kolor was applied with a brush. I used paper towels and Q-tips to remove ink from the plates.
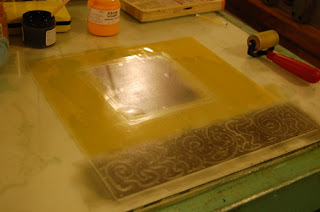 Here I am using a piece of vinyl as my 2nd plate instead of the rigid piece of plastic mentioned above. It works fine--ink transfers nicely and it rolls up as expected. The only drawback is lining up the vinyl on the press's flatbed grid that I'm using for registration. It's a little wobbly as you might imagine.
 The pressure does not seem quite right yet. Time to crank it down a bit.
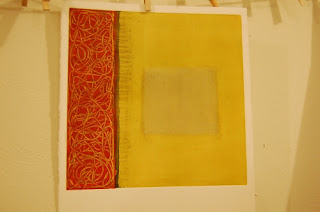 Oh! Here we go. I've added red and some more ochre to the plate, along with some opaque white and some graphite-black.
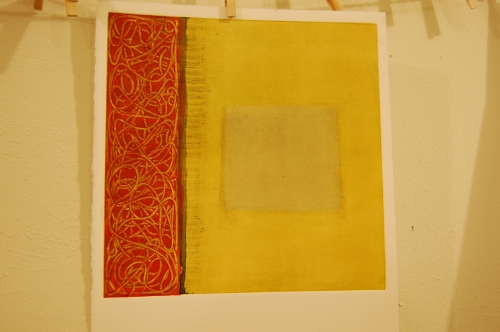
 Here's the same piece on the far right. The one directly to the left of it is it's reworked ghost. Working off of two plates at the same time is really a great technique. If something looks sweet one can always pull a ghost on a second sheet of paper, and using a roll of release agent pulls off even the slighted bit of residual ink.

I used Akua Intaglio inks except for a wee bit of black Akua Kolor as a vertical stripe on the final pull. The Akua Intaglio was applied with a brayer and the Aqua Kolor was applied with a brush. I used paper towels and Q-tips to remove ink from the plates.


No comments:
Post a Comment