
She wrote:
"We're not artists or printmakers, so we might be misunderstanding the term 'print'. What we're looking for is a piece that you made with your tools and hands, and not a photo of the piece printed on paper."
So fellow printmakers, there is hope out there that individuals do not want reproductions. I've been tempted to have these made myself for inexpensive sales at different art fair type events, but Heather's comment reassured me that I'm on the right path.
Here are the posts from the beginning on this project:
Cutting a substrate
Building a frame for the bottom of the substrate to prevent warping
Preparing the substrate with gesso and applying a background
1st layer of wax
2nd layer of wax
Scraping wax
 So yesterday and today I finished adding color and the last of the collage elements. The paper used is kitikata and I applied color with water colors and a waterproof sumi ink pen beforehand. You can barely see the paper in this pic--it's very delicate, like tissue paper.
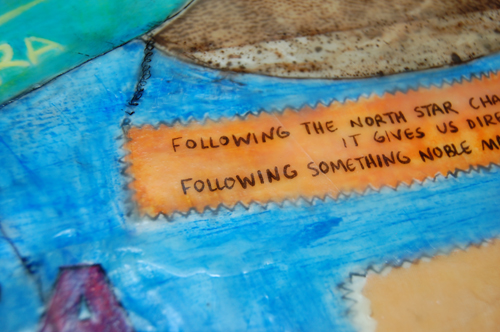 Then I just gently hit the paper with the heat gun and the paper just dissolved into the layer of wax below. You can't even see the paper.
 Burnish image face down with a wooden spoon. Then wet the back of the paper and gently rub the paper off. Fuse with heat gun and you're good to go.
Tonight I'll cut a frame for the piece which will finish the edges and provide a protective "lip." Process documented here. I'll put in hooks and a wire and hang the work in a prominent location, enjoying it for a day before it leaves for good.
2 comments:
!Muy Bonita!
Wow! Amazing work.
Post a Comment